
What Is a Visual Timer for Kids: A Parent's Guide
Discover what a visual timer for kids is and how it can help improve time management for young children. Perfect for easing transitions!
What Is a Visual Timer for Kids: A Parent’s Guide
TL;DR:
- A visual timer for kids displays remaining time through shrinking colors or shapes, making it easier for young children to understand. It supports focus, independence, and emotional regulation by externalizing time and reducing conflicts during transitions. Different types, such as physical disks or digital apps, can be used effectively with consistent introduction and routine integration.
A visual timer for kids is a device that displays time remaining through shrinking colors or shapes rather than numbers, making abstract time concepts concrete and manageable for young children. Unlike a standard clock, a visual timer shows a child exactly how much time is left at a glance, without requiring them to read digits or do mental math. Tools like the Time Timer Original and digital app versions have made this approach accessible for homes, classrooms, and therapy settings. For parents struggling with transitions, meltdowns, or a child who seems to have no sense of time, a visual timer is one of the most practical tools available.
What is a visual timer for kids and how does it work?
A visual timer visually displays time remaining by shrinking a colored shape or disc, so the child sees time disappearing rather than counting numbers. When the colored portion is gone, time is up. This design removes the cognitive demand of interpreting a clock face and replaces it with something a child can understand immediately.
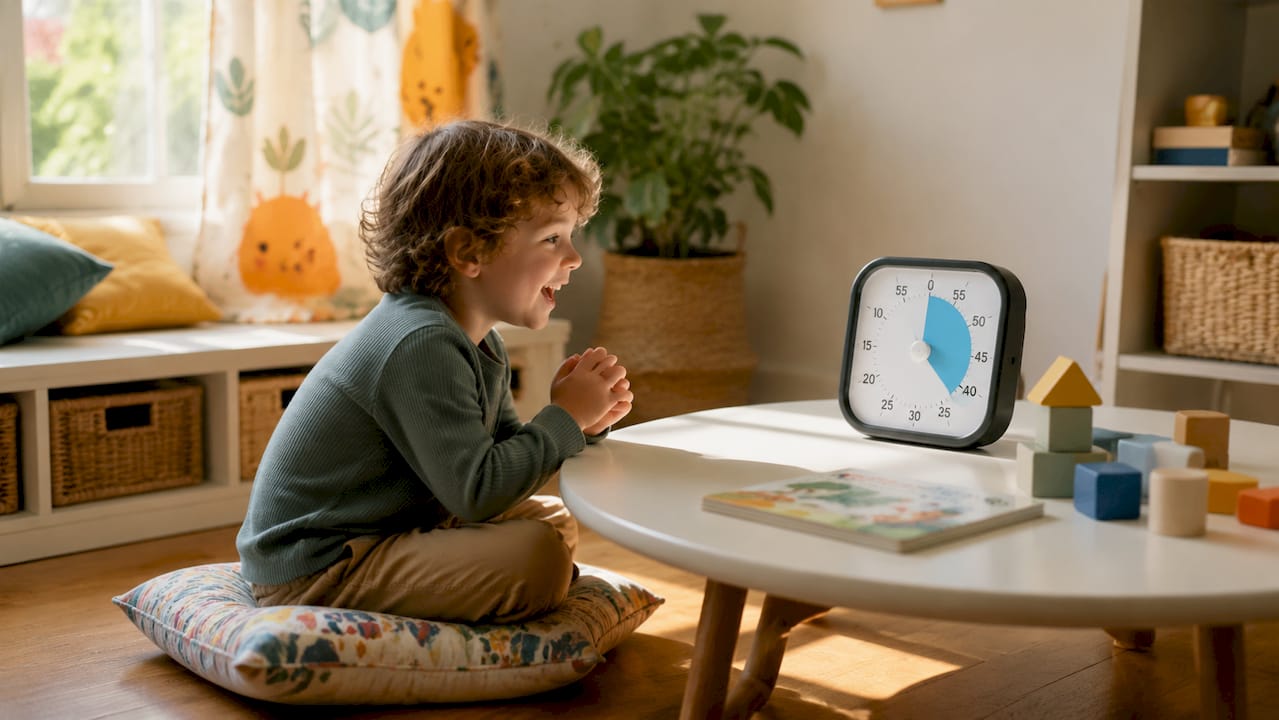
The concept is grounded in occupational therapy and child development research. Children under age seven typically cannot reliably read analog clocks, and even older kids often struggle to feel how long “ten minutes” actually is. A visual timer solves this by turning time into something spatial and visible. The red disk on a Time Timer, for example, shrinks steadily so a child can see at any moment whether they have a lot of time left or just a little. This is sometimes called externalizing time, and it is a core strategy in neurodiversity-affirming OT practice.
How do visual timers benefit children’s focus and time awareness?
Visual timers support executive function by making time concrete for children who struggle with time blindness and task switching, facilitating better independence. Time blindness is especially common in children with ADHD and autism, where the brain has difficulty estimating how much time has passed or remains. A visual timer removes the guesswork entirely.
Here are the core benefits parents and caregivers consistently report:
- Reduces conflict over transitions. The timer becomes a neutral third party. When time is up, the timer says so, not you. This shifts the dynamic away from parent-child negotiation and toward a shared, objective boundary.
- Supports self-regulation. Seeing time shrink gives children a chance to mentally prepare for what comes next, which reduces the shock of an abrupt transition and the behavioral resistance that follows.
- Frees cognitive resources. Visual timers reduce mental effort by creating temporal landmarks, allowing children to stay focused on the task itself rather than wondering how much time is left.
- Builds time awareness gradually. Repeated exposure to a visual timer teaches children to associate the shrinking color with the passage of time, which over time develops genuine time management skills.
- Supports neurodivergent learners. Children with ADHD and autism benefit from externalizing time through visual cues, reducing cognitive load and enabling self-pacing. This is why visual timers appear frequently in IEP accommodations and OT home programs.
Pro Tip: Pair a visual timer with a visual schedule for kids to give your child a full picture of their day. Knowing what comes after the timer ends dramatically reduces anxiety and resistance.
What types of visual timers are available?
Physical timers, digital apps, and sensory timers each serve different needs, and choosing the right one depends on your child’s age, sensory profile, and setting.
| Timer Type | Example | Best For | Drawback |
|---|---|---|---|
| Physical color disk | Time Timer Original 12" | Classrooms, desks, home routines | Not portable; can be bumped |
| Digital app | Various tablet/phone apps | Customizable images and sounds | Screen dependency; small display |
| Sensory/liquid timer | Bubble or sand timers | Calming, sensory-seeking kids | No precise time control |
| Compact physical | Time Timer MOD | Travel, individual use | Smaller disk, less visible |
The Time Timer Original 12" is the most widely recognized physical option. It features a large red disk that counts down up to 60 minutes silently, with an optional alert at the end. It also includes a dry-erase activity card for pairing with a visual schedule, and it can be mounted magnetically or used on a tabletop. Its size makes it ideal for classrooms and kitchen counters where visibility matters.
Digital app versions offer flexibility. You can customize the color, add images of activities, and set sounds that match your child’s preferences. The trade-off is that a phone or tablet screen is smaller and introduces the distraction of other apps. For children who are sensitive to screens or who need a dedicated, always-visible tool, a physical timer wins.
Sensory timers, such as liquid bubble timers or sand hourglasses, are not precise time-keeping tools. Their value is calming. The slow movement of liquid or sand provides a soothing visual anchor for children who are anxious or sensory-seeking, making them a good complement to structured timers rather than a replacement. You can find guidance on pairing these with broader sensory support strategies in Growingbalanced’s resources on sensory tools in classrooms.
How to use visual timers effectively with kids
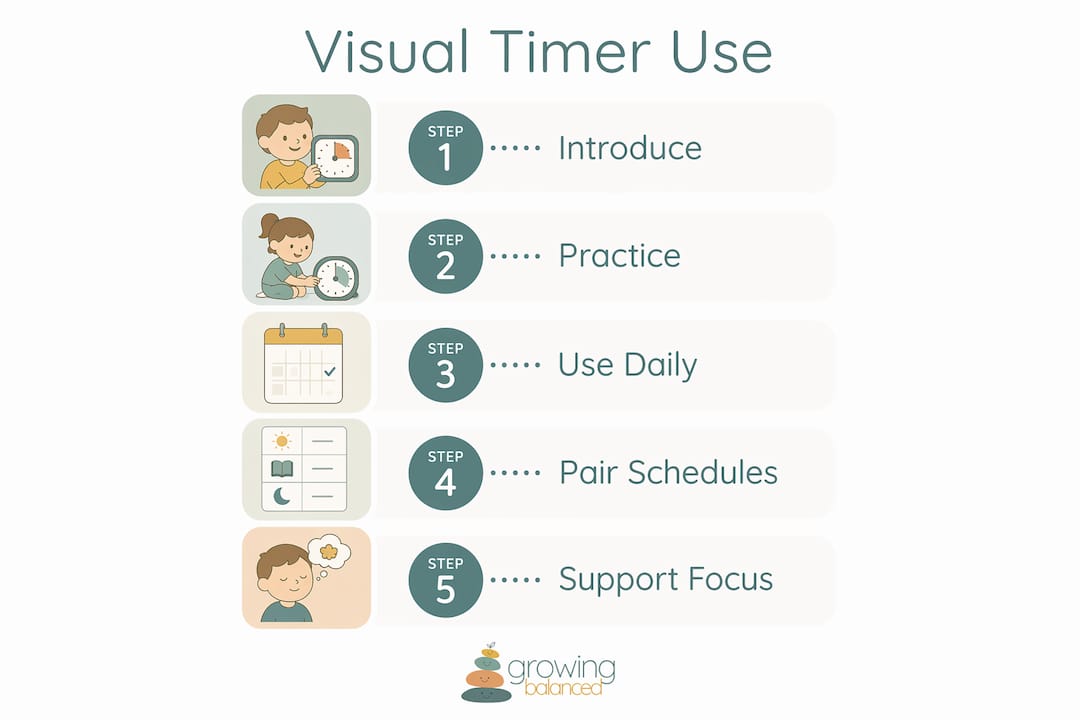
The most effective approach combines a timer with an explicit script and consistent follow-through. Research confirms that timer plus script plus follow-through improves a child’s ability to use the timer independently over time. Here is how to put that into practice:
- Introduce the timer before using it. Show your child the timer when there is no pressure. Let them set it, watch it run down, and hear the alert. Familiarity reduces resistance when it matters.
- State what the timer means. Say clearly: “When the red is gone, screen time is over and we start dinner.” Children need to know what comes next, not just that time is ending.
- Place the timer where your child can see it. A timer on a high shelf or across the room defeats the purpose. Eye level and within the child’s field of view is the goal.
- Use reminders for longer tasks. For tasks over 15 minutes, a brief verbal check-in at the halfway point helps younger children stay oriented to the timer.
- Follow through every time. A critical failure mode is extending time beyond the timer when a child protests. Doing this even once teaches the child that the timer is negotiable, which unravels weeks of progress.
Pro Tip: Start with low-stakes activities like play time or snack time before using the timer for difficult transitions like screen time or bath time. Build trust in the tool before applying it where resistance is highest.
The Watson Institute recommends gradual, localized practice before expecting independent use. Begin with the timer present during a single activity, then expand to transitions, and eventually to child-initiated use.
What age can children start using visual timers?
Visual timers can be introduced as early as age 2 using very short durations of one to three minutes. By age 3, most children can grasp the concept and begin to self-regulate around the timer’s end.
Age-by-age guidance:
- Ages 2 to 3: Use one to three minute timers for simple tasks like cleanup or waiting. Keep the language simple and the follow-through immediate.
- Ages 4 to 6: Extend to five to ten minute intervals. Children at this stage can begin to understand what the timer means for their next activity.
- Ages 7 and up: Most children can use timers for homework blocks, chores, and independent tasks. Gradually transfer ownership by letting them set the timer themselves.
- Neurodivergent children: Developmental readiness matters more than chronological age. A sensory timer may be more appropriate initially for children who find the shrinking disk distressing. Visual supports for special education learners often require more scaffolding and longer practice periods before independent use.
What I’ve learned from watching visual timers change family routines
From working with families through an occupational therapy lens, the single biggest mistake I see is introducing a visual timer during a high-conflict moment. A parent who is already frustrated and a child who is already dysregulated will not build a positive association with the tool. The timer needs to earn trust during calm, low-stakes moments first.
The second thing I have observed is that parents underestimate how much their own consistency matters. The timer only works as a neutral third party if you treat it as one. The moment you override it, you become the authority again, and the child learns to negotiate with you rather than accept the timer’s boundary. That is not a failure of the tool. It is a failure of implementation.
What actually works is pairing the timer with a predictable routine and a clear script, then stepping back. Children who know exactly what the timer means and what comes next stop fighting it within a week or two. The timer becomes part of the rhythm of the day, not a threat. That shift, from conflict to calm, is what makes this tool worth the effort.
— Kelsey
How Growingbalanced supports families with visual routines
Growingbalanced is built specifically for families and educators who want to put occupational therapy strategies like visual timers into daily practice without needing a clinical background. The platform’s daily visual schedules and balanced routines give children a full picture of their day, so a visual timer fits naturally into a predictable structure rather than appearing as an isolated demand. Growingbalanced also offers printable resources, sensory profiles, and co-regulation scripts that complement timer use at home and school. If you are ready to move beyond the timer itself and build a full routine system for your child, Growingbalanced is the place to start.
FAQ
What is a visual timer for kids?
A visual timer for kids displays time remaining through a shrinking colored shape or disk instead of numbers, making time concrete and understandable for young children. It removes the need to read a clock and gives children a direct, glanceable sense of how much time is left.
What age should you start using a visual timer?
Visual timers can be introduced as early as age 2 using very short one to three minute durations. By age 3, most children can grasp the concept and begin to self-regulate around the timer’s end.
Are visual timers helpful for children with ADHD or autism?
Visual timers are especially effective for children with ADHD and autism because they externalize time, reducing cognitive load and replacing abstract time calculations with immediate visual cues. They act as a neutral third party, which decreases parent-child conflict over time limits.
What is the best visual timer for children?
The Time Timer Original 12" is the most widely used physical option, offering a large silent countdown disk suitable for classrooms and homes. Digital app versions work well for families who need customizable images and sounds.
How do you use a visual timer without it causing more conflict?
Introduce the timer during low-stakes activities first, state clearly what happens when time is up, and follow through every single time without extending the limit. Consistency is the factor that builds a child’s trust in the timer as a reliable boundary.