
Create Printable Sensory Toolkit for Your Child
Learn how to create printable sensory toolkit clients can use to manage sensory overwhelm and enhance emotional regulation in children.
Create Printable Sensory Toolkit for Your Child
TL;DR:
- A printable sensory toolkit offers structured worksheets and guides to help children manage sensory overwhelm and build emotional skills. Customizing the kit through sensory profiles and involving children in selection enhances its effectiveness, while proper organization ensures accessibility during daily routines and emergencies. Incorporating both prevention and reaction strategies in portable formats enables children to regulate across home, school, and travel environments.
A printable sensory toolkit is a structured set of worksheets, assessments, and coping strategy guides designed to help children manage sensory overwhelm and build emotional regulation skills. When you create printable sensory toolkit resources your child can actually use, you are giving yourself a repeatable system rather than a pile of random strategies. The most effective kits follow a four-step workflow: sensory profile quiz, pattern identification, targeted printable sections, and one small change at a time. Tools like sensory profile checklists, coping plan templates, and soothing strategy sheets form the core of any well-built kit. This guide walks you through every step, from assessing your child’s needs to organizing a portable, ready-to-use resource.
What essential components belong in a printable sensory toolkit?
A printable sensory toolkit works best when it covers both prevention and reaction. Prevention tools help your child avoid sensory overload before it starts. Coping tools give them something to reach for when they are already overwhelmed. Both types belong in every kit, and mixing them up or leaving one out is the most common mistake caregivers make.
Here are the core components to include:
- Sensory profile checklist. A one or two-page form that maps your child’s responses across touch, sound, movement, sight, smell, and taste. This is your starting point for everything else.
- Trigger identification worksheet. A printable that helps you and your child name specific situations, textures, sounds, or environments that reliably cause distress.
- Coping plan template. A structured page where your child’s go-to strategies are written down in order, from least to most intense, so they do not have to think during a meltdown.
- Sensory soothing and grounding printables. Resources like the 27-page Sensory Soothing Worksheets from My Thriving Mind include psychoeducation, trigger identification, and grounding techniques in one fillable PDF bundle.
- Sensory break schedule. A visual chart showing when planned sensory breaks happen during the day, which reduces the frequency of reactive episodes.
Pro Tip: Include grounding items that address all five senses in your printable kit. A child who is overwhelmed by sound may self-soothe through touch or smell, so covering multiple sensory channels gives them more options when one strategy stops working.
The distinction between prevention and coping is not just theoretical. A sensory break schedule is a prevention tool. A coping plan is a reaction tool. Keeping them visually separated inside the toolkit, perhaps in different colored folders or labeled tabs, helps your child and any caregiver grab the right resource at the right moment.
How to use sensory profiling to customize your toolkit
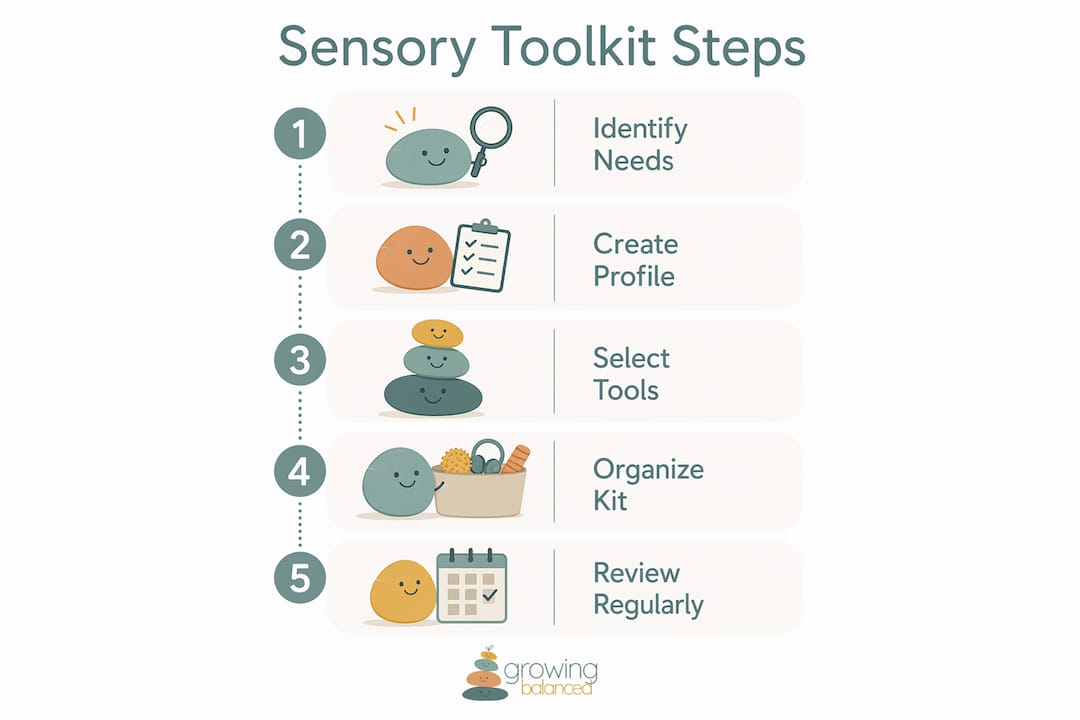
Generic printable sensory kits for clients or children rarely work as well as individualized ones. The Watson Institute recommends identifying target sensitivities through both caregiver observation and direct child report, then building the toolkit around those specific findings. Here is how to do that in practice.
- Complete a sensory profile quiz. Use a printable or digital form that covers all sensory domains. Growingbalanced offers sensory profile resources as part of its OT-informed library. You can also explore sensory seeking behavior patterns to understand what the results mean.
- Analyze the results for patterns. Look for clusters. Does your child avoid most tactile input but seek heavy movement? That pattern points to specific toolkit sections you need most.
- Select printables that match those patterns. A child with auditory sensitivity needs noise management strategies and quiet break location cards. A child who seeks movement needs a movement menu printable, not a relaxation breathing sheet as their first tool.
- Involve your child in choosing items. The Watson Institute specifically emphasizes child involvement in selection as a factor in toolkit effectiveness. A child who helped pick their coping tools is far more likely to use them.
- Save one completed profile per child. If you have more than one child with sensory needs, individual profile templates per child are far more useful than a single shared document. This also makes it easier to update the kit as your child grows.
Pro Tip: Revisit the sensory profile every three to six months. Sensory needs shift with age, environment changes, and developmental stages. A toolkit built for a five-year-old will not serve the same child at eight.
How to assemble and organize your sensory toolkit for real life
Knowing what to include is only half the work. How you organize and package the toolkit determines whether it actually gets used. A binder sitting on a shelf is not a toolkit. A portable folder in your child’s backpack is.
Follow these steps to build something functional:
- Decide on print versus digital. Fillable PDFs let you update information without reprinting everything. Print versions work better for children who benefit from physically handling materials. Many families use both: a digital master file and a printed copy for daily use.
- Organize by function, not by topic. Group prevention tools together and coping tools together. Within each group, order by sensory domain if your child has multiple areas of need.
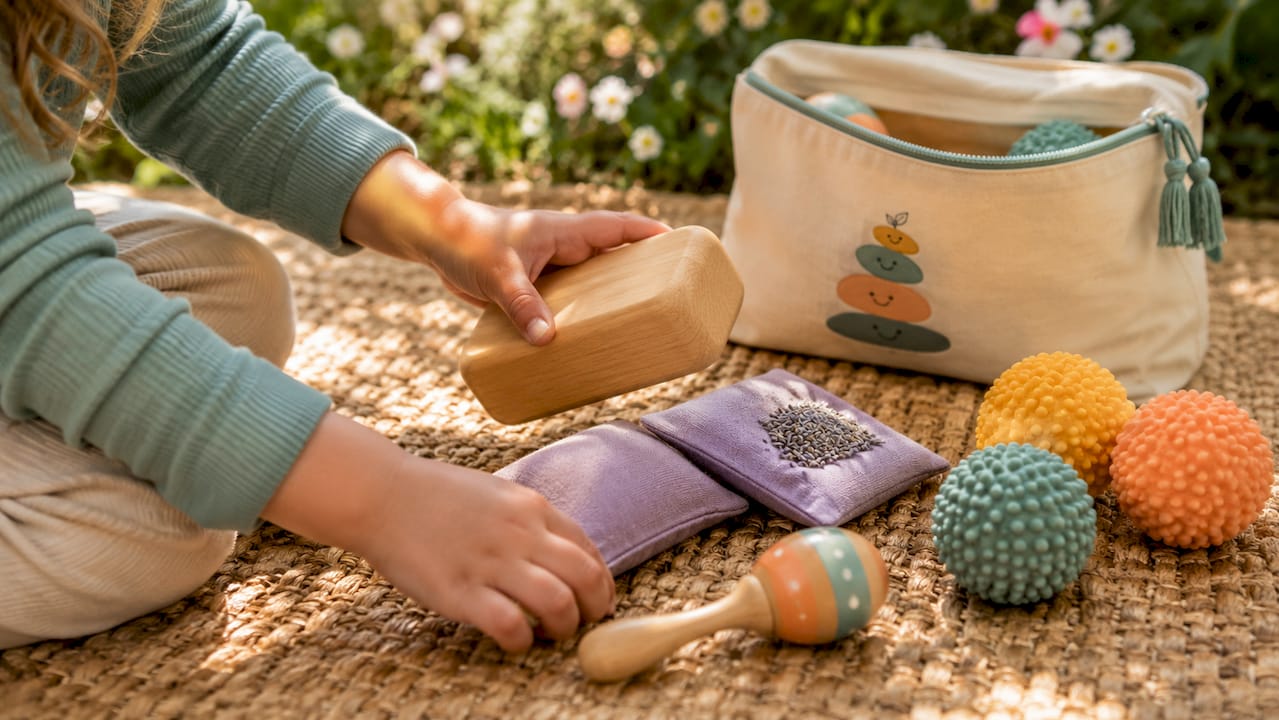
- Choose a format that fits your life. A three-ring binder with tabbed dividers works well at home. A slim accordion folder or a zippered pouch works better for school or travel.
- Build a sensory break schedule into the kit. Write specific times and locations for breaks directly into the toolkit. Vague plans do not get followed.
- Start with one small change. Implementing one strategy at a time reduces caregiver overwhelm and gives your child time to adapt before adding more tools.
Here is a quick comparison of packaging formats to help you decide:
| Format | Best for | Portability | Cost |
|---|---|---|---|
| Three-ring binder | Home use, multiple children | Low | Low |
| Accordion folder | School and daily routines | Medium | Low |
| Zippered pouch | Travel and emergencies | High | Low |
| Digital PDF on tablet | Updating and sharing with teachers | Very high | Free to low |
The American Red Cross uses a portable go kit model for sensory regulation in emergency settings, which proves that portability is not optional for children with high sensory needs. Your child’s toolkit should be just as accessible during a grocery store trip as it is at home.
Where to find and customize printable sensory resources
Ready-made templates save significant time when you are building a DIY sensory toolkit from scratch. Here are the most useful types to look for and where to find them:
- Sensory profile templates. Look for forms that cover all eight sensory systems, including proprioception and interoception, not just the five basic senses.
- Coping strategy worksheets. The best versions include space for your child’s own words, not just checkboxes. Personalized language makes strategies easier to recall under stress.
- Soothing plan templates with grounding exercises. Resources that combine psychoeducation with fillable coping plans, like those from My Thriving Mind, give parents context alongside the tools.
- Visual supports. Printable picture-based cards work especially well for younger children or those with limited verbal communication. Growingbalanced explains why visual supports improve regulation outcomes in educational settings.
- OT home program guides. Templates grounded in occupational therapy practice, like those covered in Growingbalanced’s OT home program guide, help you apply professional recommendations without needing a clinic visit for every adjustment.
When you modify any template, keep the language at your child’s level. A coping plan written in adult vocabulary will not be read by a seven-year-old in distress. Swap clinical terms for your child’s own words wherever possible.
What I have learned from watching parents build these kits
From my experience working alongside families navigating sensory regulation, the biggest gap is not knowing what to include. It is knowing where to start. Most parents I have seen come in with a folder full of downloaded worksheets and no clear order of operations. The toolkit becomes another source of overwhelm instead of a solution.
The structured workflow matters more than the specific tools. Start with the sensory profile. Let the results tell you which sections to build. Then add one tool at a time and watch what your child actually reaches for. The items they ignore are just as informative as the ones they use.
I also think caregivers underestimate how much child involvement changes outcomes. A child who helped choose their grounding card is not just more likely to use it. They are more likely to ask for it. That shift from passive recipient to active participant is where real regulation skills start to develop. Adjust the kit every few months and treat it as a living document, not a finished product.
— Kelsey
How Growingbalanced supports your sensory toolkit journey
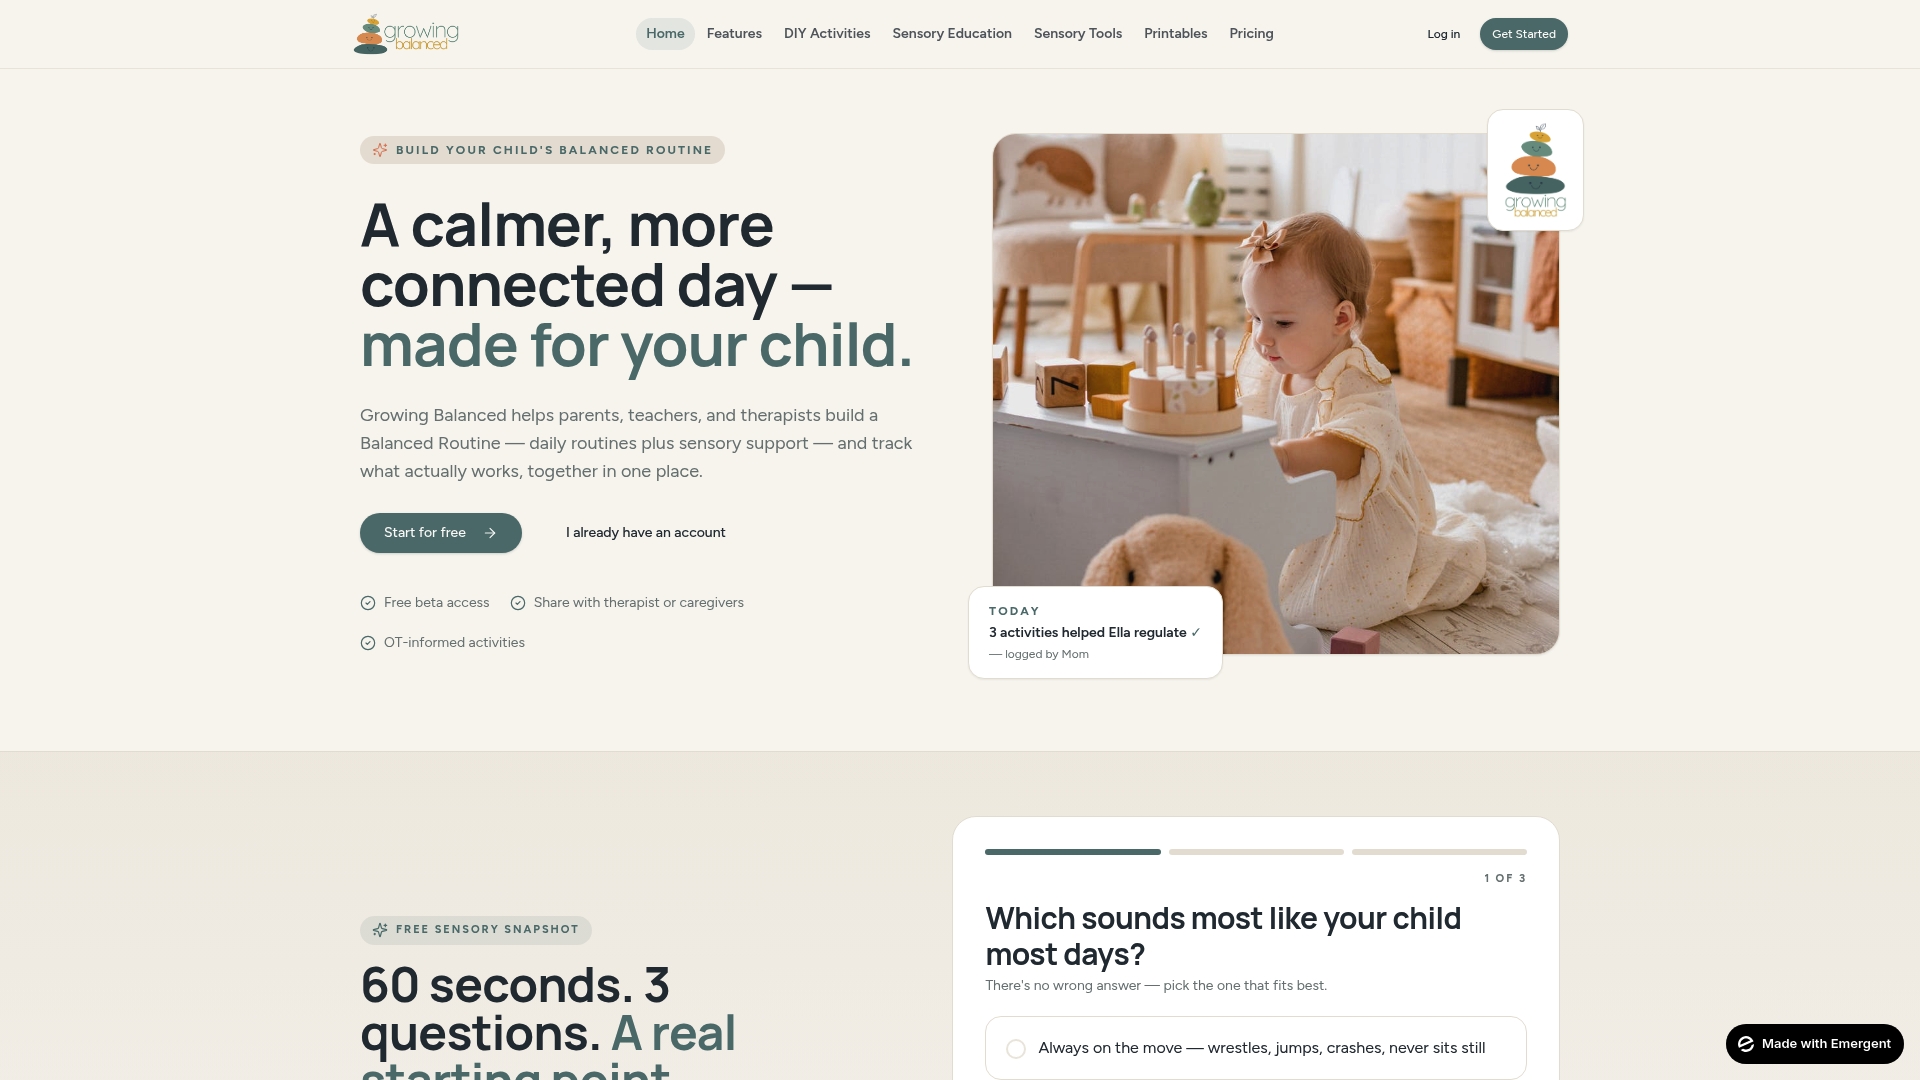
Growingbalanced is built specifically for parents and caregivers who want OT-informed tools without needing a clinical background to use them. The platform’s daily visual schedules and balanced routines pair directly with printable sensory toolkits, giving your child both a predictable structure and the regulation supports to navigate it. Sensory activity suggestions, co-regulation scripts, and printable sensory profiles are all available in one place, designed for home, school, and shared use with teachers or therapists. If you are ready to move from scattered strategies to a system that actually works, Growingbalanced is where to start.
FAQ
What is a printable sensory toolkit?
A printable sensory toolkit is a collection of worksheets, assessments, and coping strategy guides in PDF format that help children manage sensory processing challenges and emotional regulation at home or school.
How do I know which printables to include for my child?
Start with a sensory profile quiz to identify your child’s specific sensory patterns, then select printables that directly address those areas. The Watson Institute recommends involving the child in choosing their own tools to improve engagement and effectiveness.
Can I use a sensory toolkit for more than one child?
Yes, but save a separate completed sensory profile for each child. Using individual templates per child, rather than one shared document, keeps personalization intact and makes it easier to update each kit over time.
Should a sensory toolkit include prevention and coping strategies?
Both are necessary. Prevention tools like sensory break schedules reduce the frequency of overwhelm, while coping tools give children something to use when they are already dysregulated. A toolkit with only one type is incomplete.
What format works best for a portable sensory toolkit?
A zippered pouch or slim accordion folder works well for travel and school use. The American Red Cross uses a portable go kit model for sensory regulation in emergency settings, which confirms that accessibility outside the home is a real and practical need.